First, the gloss is not good, the brightness is not enough
main reason:
1. The viscosity of UV varnish is too small, and the coating is too thin.
2. Excessive dilution of non-reactive solvents such as ethanol.
3. Uneven coating of UV oil.
4. The paper is too absorbent.
5. The anilox roller is too thin and the oil supply is insufficient.
Solution: Properly increase the viscosity and coating amount of UV varnish according to different conditions of paper. A layer of primer can be applied to paper with strong penetration and absorption.
Second, poor drying, incomplete light curing, and sticky surface
main reason:
1. The intensity of ultraviolet light is not enough.
2. The UV lamp is aging and its intensity is weakening.
3. The UV varnish storage time is too long.
4. Add too much diluent that does not participate in the reaction.
5. The machine speed is too fast.
Solution: In the case of curing speed requirements less than 0.5s, it must be ensured that the power of high-pressure mercury lamps is generally not less than 120w / cm. If necessary, add a certain amount of UV varnish curing accelerator to accelerate drying. [next]
3. The UV varnish on the surface of the printed matter can not be coated or flowered
main reason:
1. The UV varnish has low viscosity and the coating is too thin.
2. The ink contains too much ink or dry oil.
3. The ink surface has crystallized.
4. There are many anti-sticking materials (silicone oil, powder spraying) on ​​the surface of the ink.
5. The glue roller is too thin.
Solution: When printing products that require UV glazing, appropriate measures must be taken to create conditions. When UV varnish is applied, it should be thicker. If necessary, the problem can be solved by applying primer or replacing special varnish.
4. UV coating has white spots and pinholes
main reason:
1. The coating is too thin.
2. The anilox roller is too thin.
3. Too much non-reactive diluent (such as ethanol) is added.
4. There is more dust on the surface of the printed matter.
Solution: The production environment and the surface of the printed matter should be kept clean and the coating thickness should be increased. A small amount of smoothing aid can also be added. For dilution, it is best to use reactive diluents that participate in the reaction.
5. Uneven coating on the surface, streaks and orange peel
main reason:
1. The viscosity of UV varnish is too high.
2. The coating roller is too thick and not smooth.
3. The pressure is not uniform.
4. The coating amount is too large.
5. The leveling property of UV varnish is poor. Solution: reduce the viscosity of UV varnish and reduce the amount of coating. The pressure is adjusted evenly. The coating roller should be ground and polished. Light leveling agent can be added. [next]
Six, UN varnish adhesion is not good
main reason:
1. Crystallization of printed matter ink surface.
2. The auxiliary materials in the printing ink are not suitable.
3. The UV varnish itself has insufficient adhesion.
4. Light curing conditions are not suitable.
Solution: The printing process should consider the glazing conditions in advance. The printed product needs to be coated with primer to enhance adhesion.
7. UV varnish thickens and gels
main reason:
1. The UV varnish storage time is too long.
2. Varnish cannot be stored away from light completely.
3. The storage temperature is too high.
Solution: Pay attention to the effective use period of UV varnish and store it strictly in the dark. The storage temperature is preferably 5 ℃ ~ 25 ℃.
8. Large residual odor
main reason:
1. Incomplete drying and curing.
2. Insufficient UV light source or aging lamp.
3. The UV varnish has poor anti-oxygen interference ability.
4. Excessive addition of non-reactive diluent in UV varnish.
Solution: UV varnish must be dried and cured thoroughly. And to strengthen ventilation, if necessary, replace the UV varnish varieties.
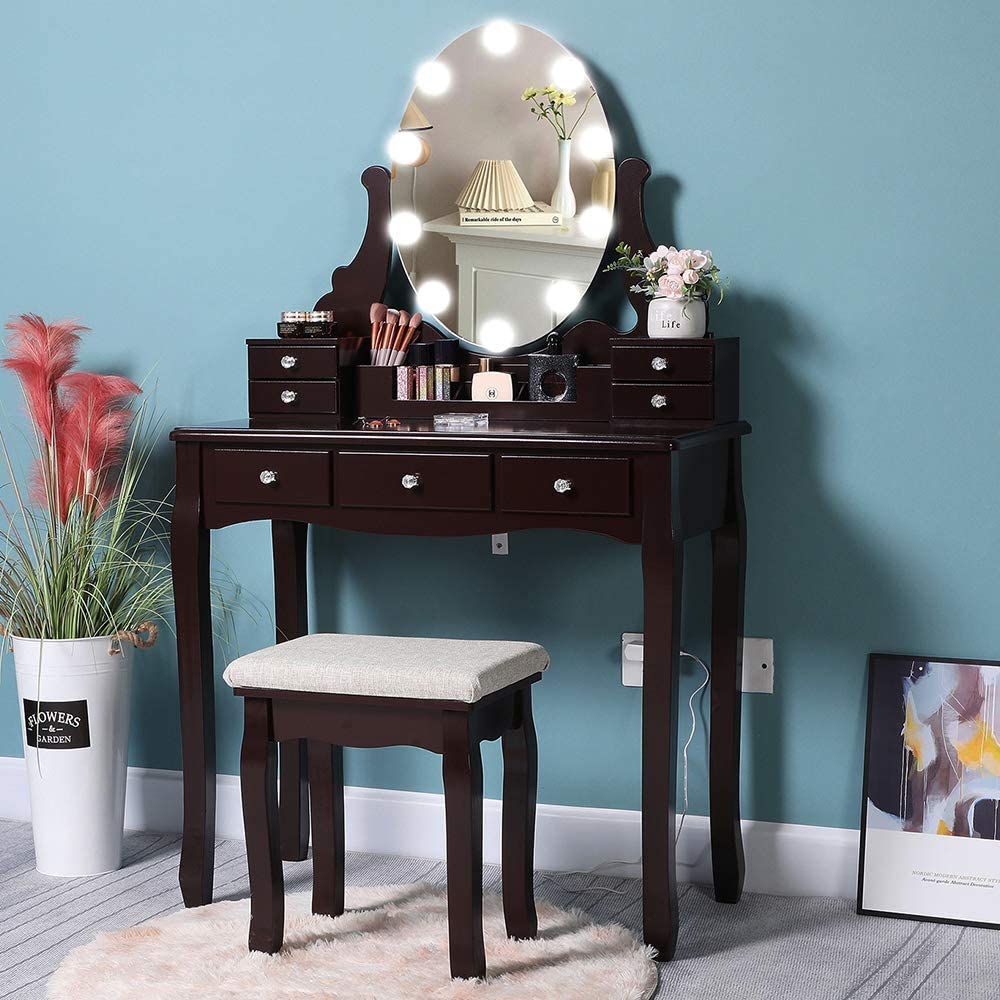
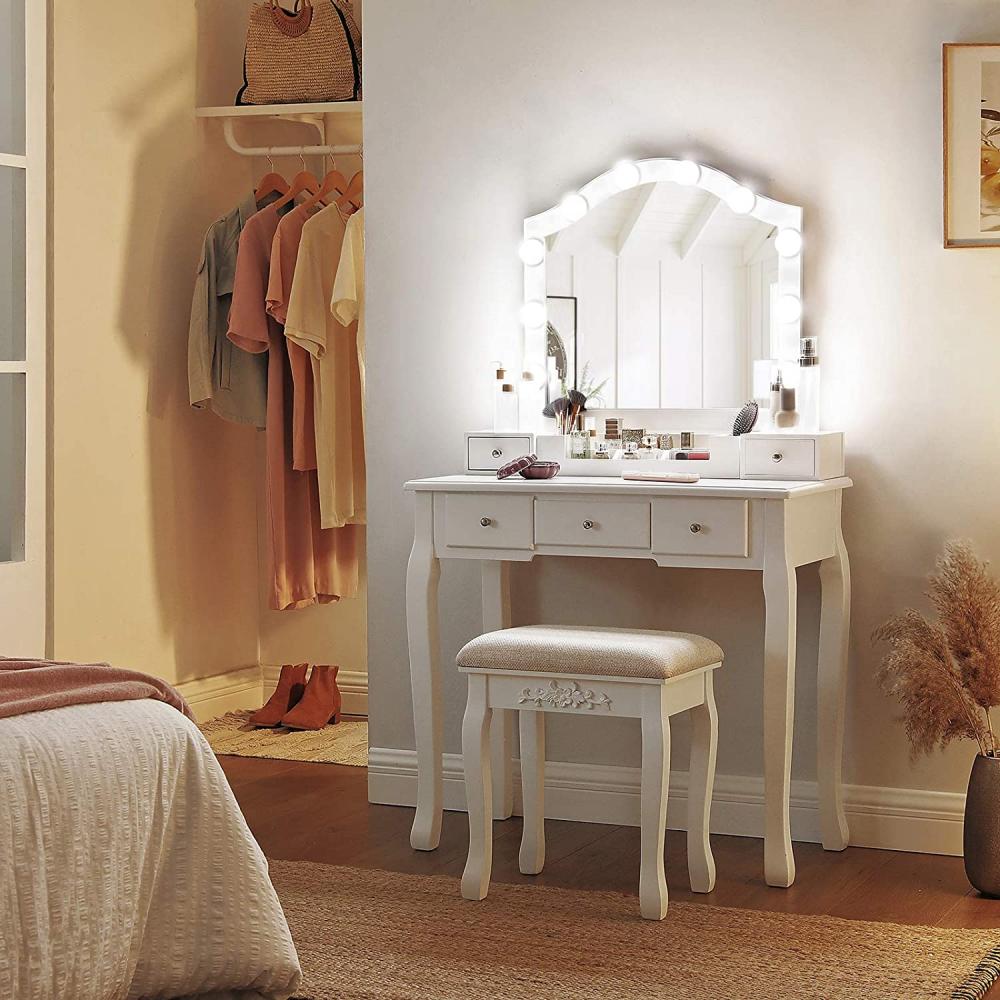
Dressing table, also called toilet table, a table used for the toilet. The term originally was applied in the 17th century to small tables with two or three drawers. It soon became common practice to conceal the fittings of the dressing table when they were not in use, and great ingenuity was exercised by 18th-century cabinetmakers to combine elaborate fittings with a handsome piece of furniture.

In the Cabinet-Makers` London Book of Prices (1788), Thomas Shearer included a design for a dressing stand [with folding tops. The top and bottom fronts are shams, in the back part of the stand is a cistern which receives water from the bason drawer . . . ." The inside included [A glass hung to a sliding piece, 3 powder boxes, a lift-out to hold 4 razors, hone and oil bottle, a ditto for combs, and partion`d off for tooth brushes, a shallow ditto for tweezers, knives etc. . . . ."

Mirrored Dressing Table,Dressing Table Set,Vanity Dressing Table,Dressing Table With Drawers,Wooden Dressing Table,MDF Dressing Table,Dresser With Mirror
Jinan Tri-Tiger Technology Development Co., Ltd , https://www.tritigerwooden.com