At present, pictures have become one of the important means of information transmission. However, many picture quality is not ideal, such as gradation compression, color cast, lack of contrast, etc., mainly because these pictures come from poor picture discs and digital cameras with low resolution. And scanner or internet, so it is necessary to correct these pictures. At present, the most used image correction software is Adobe's image processing software, photoshop, and its leading position in the field of image processing has been accepted by people. Curve is an important color grading correction tool in photoshop, many people are unfamiliar with this, here we make a detailed introduction to its role in photoshop.
The Curve tool has a powerful image color gradation correction function, it can provide any color scale adjustment, color scale adjustment curve is the core. It can not only adjust the main channel, but also adjust each single channel. The Curve tool is more convenient than the Level tool when adjusting color cast. The Level tool changes the gradation of the image by moving the light and darkness buttons, and is more suitable for high and low-key adjustment of the image: while the Curve tool can add some nodes to the adjustment curve, arbitrarily changing the shape of the curve to generate the corresponding gradation change, and the image The high, medium, and low-key adjustments are very good, which is much more powerful than the Level tool. If Level is coarse, then Curve is fine-tuning. Curve curve adjustment should be based on the characteristics of different manuscripts. Linear or non-linear adjustments can be taken.
In the photoshop menu bar, open Image\Adjust\Curve (shortcut Ctrl+M) and the Curve dialog box will pop up, as shown in Figure 1. It can be seen that the tone scale adjustment curve is located in the middle of the dialog box, the horizontal axis represents the gradation (input) of the original image, and the vertical axis represents the corrected gamut (output). In the default state, the two coordinate axes range from 0 (black) to 255 (white), and the curve in the coordinate axis is called the tone curve. The initial value (ie, the default state) has the same input and output values, so the tone curve is a 45° straight line. The gradient bar below the tone curve is used to describe the gray value of the horizontal axis. At the bottom right of Figure 1, there are three pipette tools, black, gray, and white field calibrated straws, which allow for black and white calibration of the image.
Curve can implement the following three functions
1. Image level adjustment
Curve curve can effectively adjust the depth of the image color, especially for the adjustment of some bored images. Here is an example to see how to use this tool to adjust the image hierarchy. Figure 2 is a boring image. The whole image is gray, as if it is going to rain, so the details of the shadow tone are lost, and the contrast of the dark tone is too small and the level is insufficient. To do this we need to increase the contrast of the dark tone and increase the overall brightness of the image, making the colors of the layers lighter. Open the curve dialog box, and use the CMYK mixing channel as the adjustment object. Pull down the curve. The adjustment parameters and results are shown in Figure 3. It can be seen that Figure 3 is obviously much better than the overall effect of Figure 2. The whole picture is clearer, the details are more abundant, and the dark tone contrast is also opened.
2. Correct color shift
The Curve tool can correct the overall color cast of the image or the color cast of a certain gradation, but it is poor at correcting the color cast of a certain color. Because it is channel-targeted, not color-oriented. Let's take a look at an example. Figure 4 is a picture of a woman. We know from its face a little C2%M35%Y26%K0% that its M is bigger than Y. For people's skin color there is a rule: Oriental and Western skin color are M and Y-based or the main color is red, with a small amount of C and K. The difference is that the oriental skin is yellowish, and Y is slightly larger than M in the skin color; M in the skin color of Westerners is slightly larger than Y; but their Y and M are generally not more than 40% in order to reflect the color of the skin. This is especially true for women, especially with special exceptions. It can be seen that in Figure 4, an eastern woman is represented, so its Y should be slightly larger than M, while in Figure 4, the opposite is true. Therefore, we need to lower M in Fig. 4, and here we use Curve. tool. Open the curve dialog box, select the magenta channel as the adjustment object, pull down the curve, you can get the results we want, the adjustment parameters and results shown in Figure 5. In Figure 5, compared with Figure 4, the skin color is slightly yellowish and appears whiter and tenderer, in line with the oriental skin color. The adjustment of the M version here affects the gray balance of the entire image, so the adjustment range is not too large.
3. Black and white calibration
In determining the black and white field, it should be noted that the black field of the image should have sufficient density. The percentage of the dot is more than 95%, which should be the darkest place in the image; the white field must be close to the net, and the percentage of the dot is less than 5%. The whitest place in the image. Once a certain point on the image is selected as a black and white field, the brightness of other pixels on the image will change accordingly. If the white point is selected at a point on the selected image, the percentage of dots with the original luminance higher than a is 0%, the gradation disappears, and the point with lower brightness than the point a will increase the brightness with respect to point a. If the b-point on the selected image is used as the black field, the percentage of the dots with the original luminance lower than that of the b-point is 100%, and the point with the luminance higher than the b-point decreases the luminance with respect to the b-point. It can be seen that if the black and white fields of the image are not properly selected, the brightness and color of the entire image will change. Take a woman wearing a white veil as an example. If she chooses a white point on the scarf she wears, the percentage of dots at that point is C27%M18%Y4%K0%. As can be seen from the percentage of its outlets, this spot is not the brightest point on the image, and contains more gray components. Therefore, the ratio of the skirts of skirts with higher brightness than this point is 0%, which becomes a piece of white, the level is lost, and the character faces The level is also lost. If you choose a white point on the white skirt of her chest as a white field, know the percentage of points in this point Cll%M1%Y2%K0% compared with other pixels on the image, this point is basically The top is the whitest point on the image, so the overall brightness of the image does not change much from this point, and the brightness is only slightly increased. There is no loss in the level of the skirt and the face, the transition is natural, and because the brightness of the face is increased, the skin color of the figure is more white and delicate.
Curve curves can also be drawn on their own, for special effects. We won't go into details here. When using this tool, be sure to clarify your purpose, and then consciously adjust, do not arbitrarily mess up. Only by using this tool in practice can we have a deeper understanding of its functions.
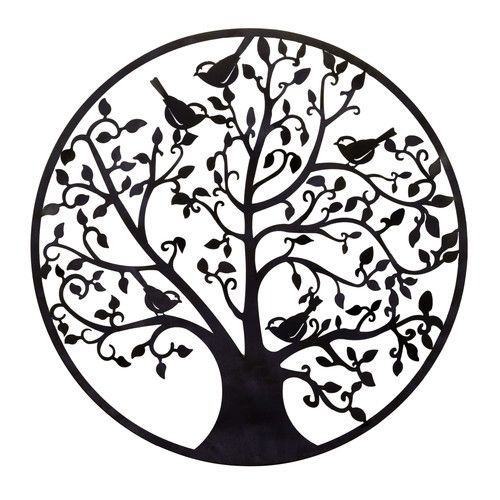
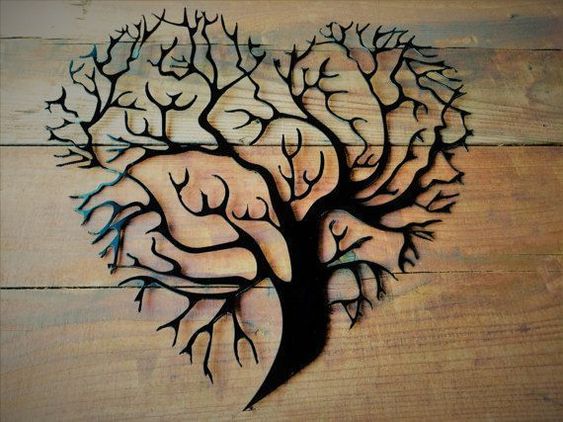
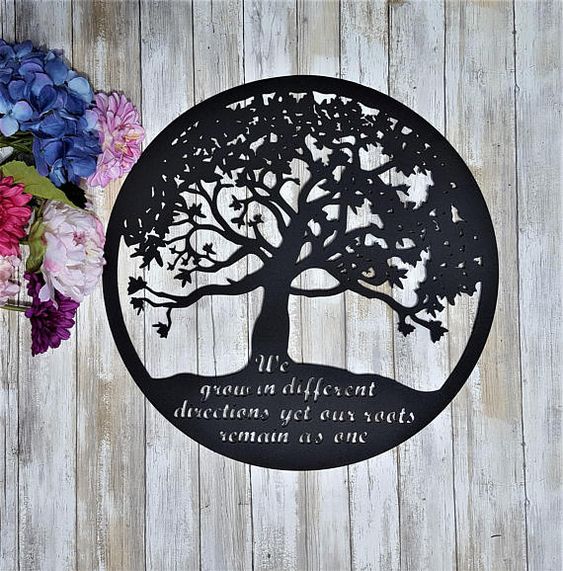
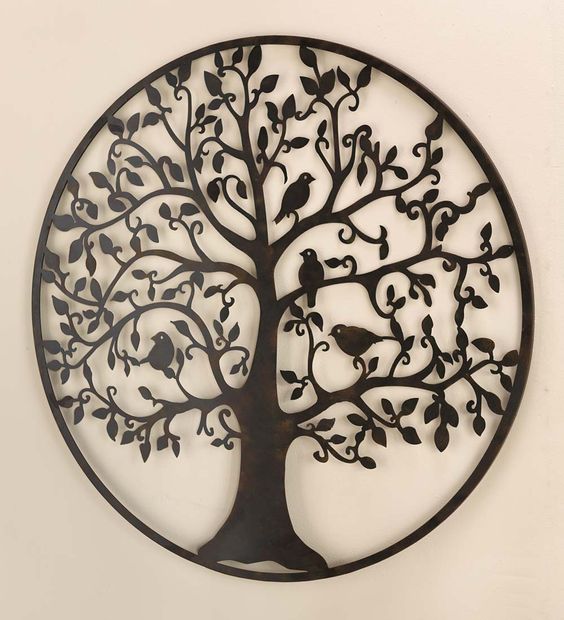
Stunning contemporary Tree of Life Wall Screen Panels, made from mild steel with a leatherlook powder coated finish. The perfect Wall Screen Panels are hanging for a living room, bedroom, hallway or even outside as it is completely weatherproof.Wall divider panels are diversity of designs.Garden privacy screens will look stunning on your empty walls.Wall Screen Panels are perfect for your dark and white color walls. This color wall sign will add character to your modern living room. Unique wall art can also be part of your modern office. Tree of Life wall art will definitely look stunning on your bed top.
- Tree of Life design
- 1~2mm mild steel laser cut
- Tough powder coated finish or corten rust
- Suitable for inside or outside applications
- Size: 300x300mm or custom made
MATERIAL
-Outdoor decorative screens are made out of 1.5 mm or 2mm steel material and high-quality gold metallic paint. (Electrostatic special powder coating)
-Durable paint for outdoor and indoors.
-Its paint finish creates a quality texture touch feeling and appearance.
-Semi-shiny color looks beautiful with sunlight.
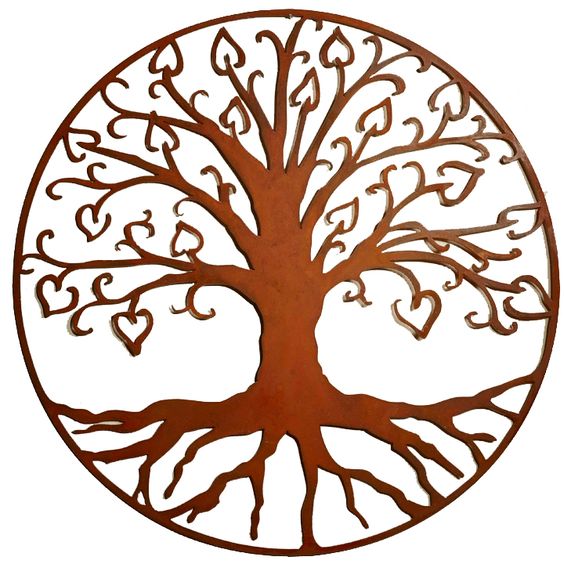
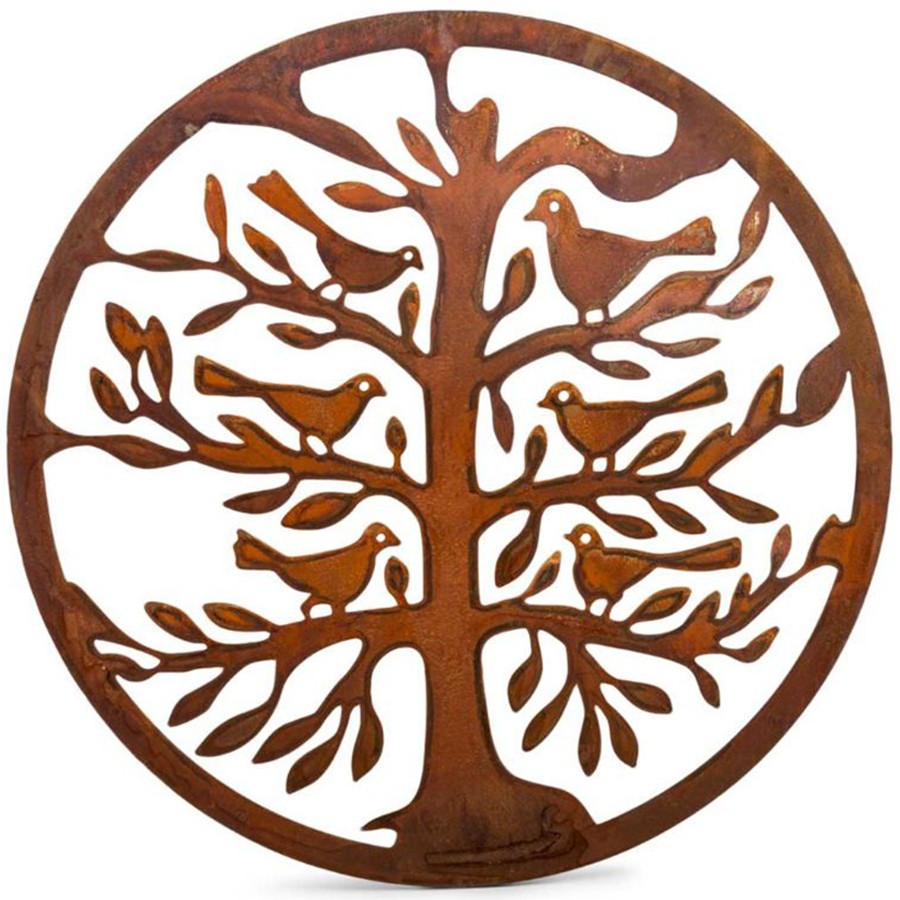
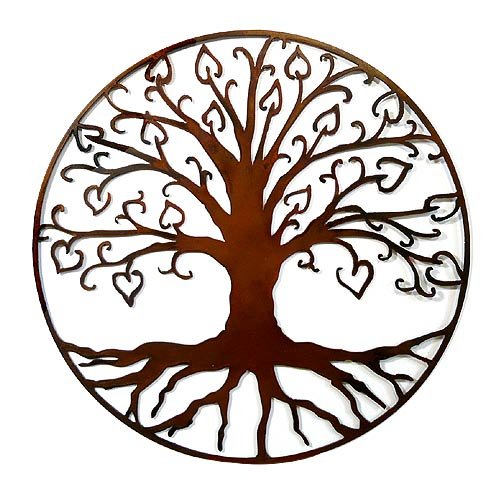
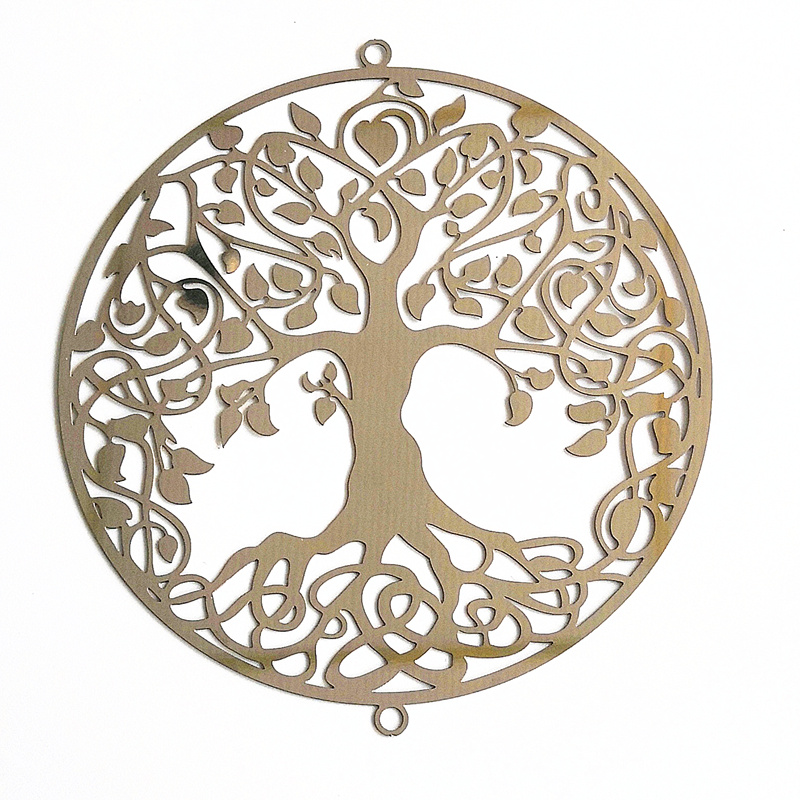
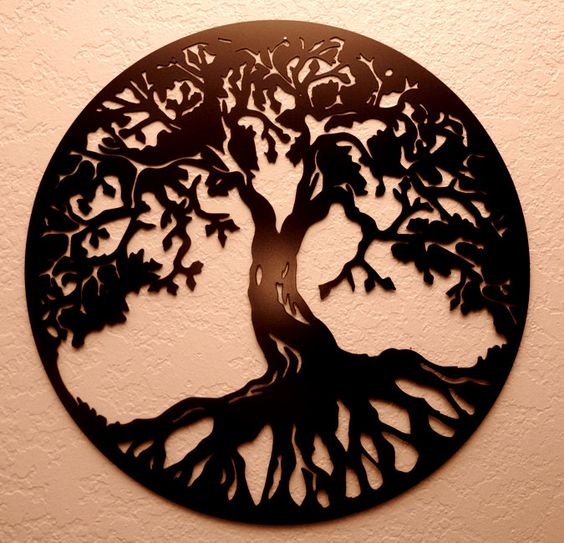
Wall Screen Panels,Room Divider Screen,Room Divider Panels,Wall Divider Panels
Henan Jinbailai Industrial Co.,Ltd , https://www.jblfirepits.com